by Tom Gaylord
Writing as B.B. Pelletier
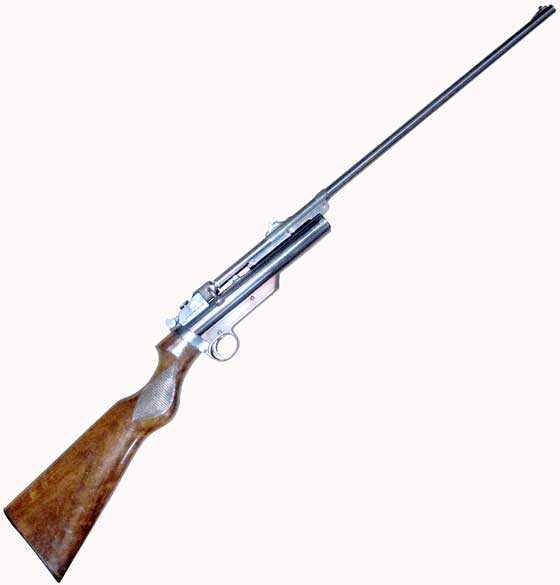
Webley Mark II Service air rifle.
This report covers:
- The problem
- Trim the seal
- Shim the old seal
- Hole punch
- Refit the old seal and shim
- Does it work?
It’s been a while since we looked at the Mark II Service air rifle, asnd I thought it was time to take another look. You will recall in Part 2 I tested the velocity and found the rifle was shooting very slow. There was also a large puff of air at the breech that told me the breech seal needed to be replaced. I ordered one from the UK that took 3 weeks to arrive. When it got here I discovered it had to be sized to fit the breech. That has been shoving the report to the back burner, week after week, until I decided to do something about it.
The problem
Let me show you what I’m up against.
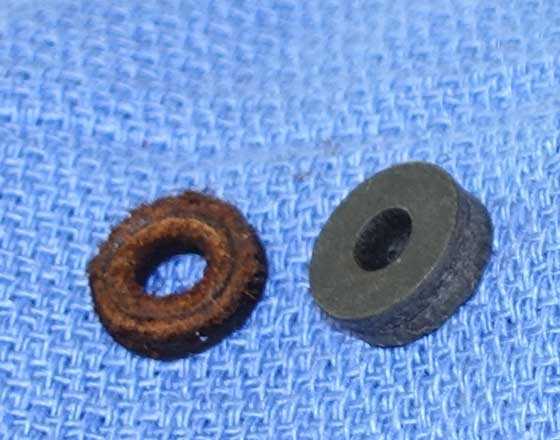
The old breech seal (left) is both smaller and thinner than the new one.
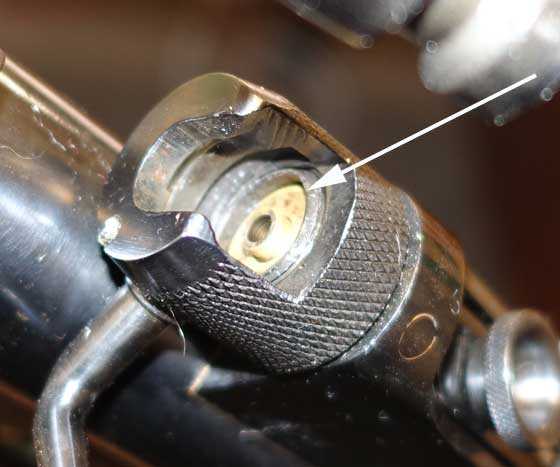
The breech seal goes into the space in the breech (arrow).
To gain access to the breech I removed the barrel. Thank goodness that is easy to do. Now there is a straight, clear line to the breech.
Trim the seal
The new seal needs to be trimmed to fit into the breech. There are several ways to resize fiber seals. You can trim them with a razor knife, which I did Friday, or you can chuck them in a drill and turn them against a file. That would be the better way, because it is more precise.
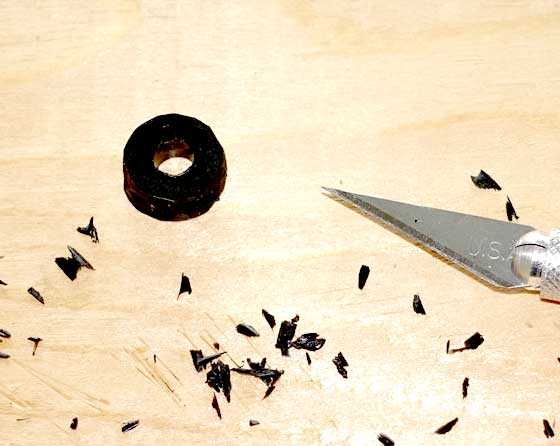
I trimmed the edge of the new seal with a razor knife. It still does not fit.
So I spent a couple hours this past Friday and Saturday working on the seal. I didn’t get it small enough to fit, but then it dawned on me that this was the perfect opportunity to show you a field fix that’s based on redneck engineering. Instead of rushing the seal trimming, I could repair the old seal and probably restore the rifle’s power another way. If that is successful, I can take my time and trim the new seal properly.
Shim the old seal
The trick is to shim the old seal. It really doesn’t matter what sort of shim material I use because this shim will only be temporary. I used a paper business card. I held the card under the old seal and trimmed around the edges with a small scissors. But there is still the hole to make in the center of the shim.
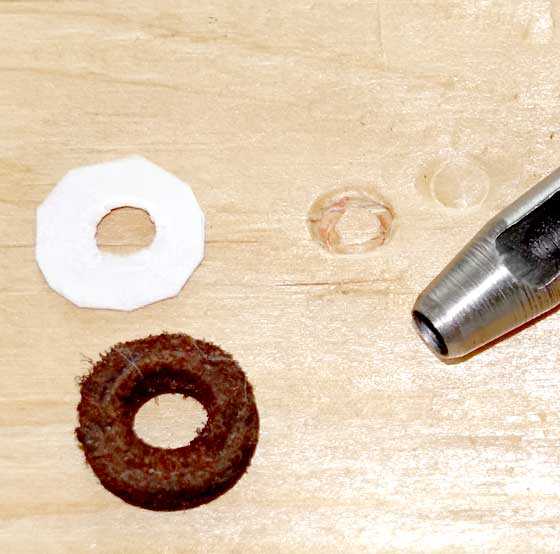
The shim is trimmed to fit and the center hole has been punched out. It’s ready to go.
Hole punch
I used a small hole punch to make the shim’s center hole. The one I used is close enough to the size of the transfer port pipe in the breech that the shim fit over it snuggly. Then the old breech seal fit over the pipe and stood proud of the breech — the way a new seal will.
Refit the old seal and shim
Now it was time to see if my redneck fix worked. The shim went into the breech first and fit well, then the old seal was pressed down over the transfer port pipe. It fit perfectly.
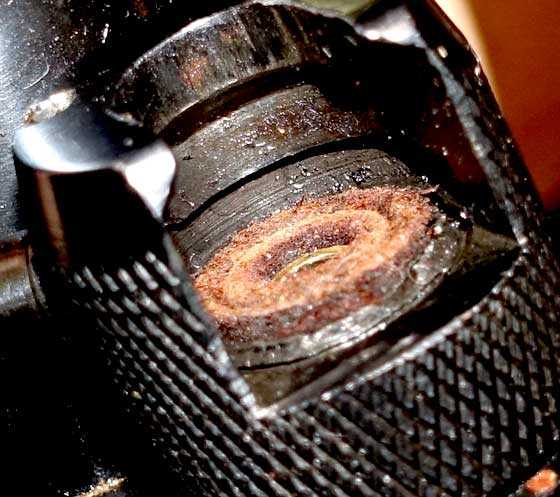
The shimmed breech seal is installed. It stands proud of the breech and should seal better.
Does it work?
There’s just one way to know is the shimmed breech seal works — by shooting the gun. I will save that test for next time.