by Tom Gaylord
Writing as B.B. Pelletier
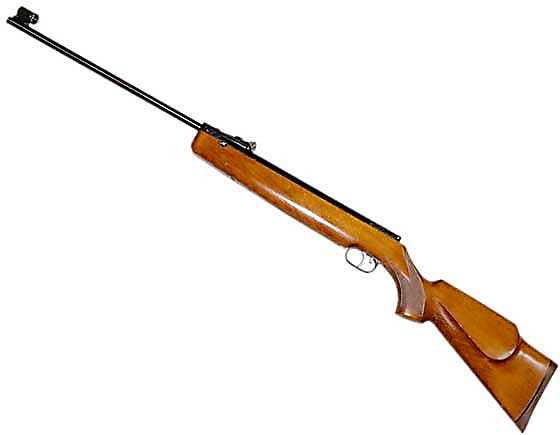
The Beeman R8 looks like a baby R1.
This report covers:
- Disassembly begins
- Remove trigger
- Unscrew end cap
- Some words about the Rail Lock compressor
- Grease everywhere!
- Remove piston
- Cleanup
- Best grease
- Next
- Summary
Disassembly begins
Today I take the Beeman R8 apart and we see what’s inside. First the barreled action comes out of the stock. When it does I can show you the articulated cocking link and the part that keeps that link under control.
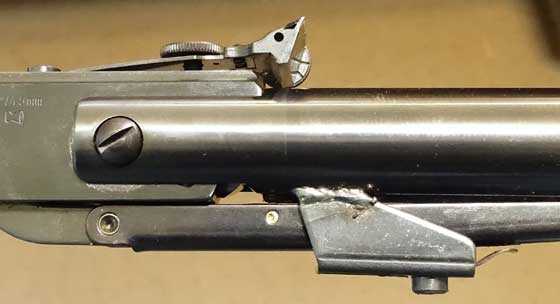
Here is the cocking link. It passes through that bridge that keeps it aligned, and the spring on the right keeps the long link away from the stock. It quiets the linkage.
Remove trigger
With the action free, the trigger is removed from the end cap by pushing out two pins that hold it. The safety and safety spring will also come free.
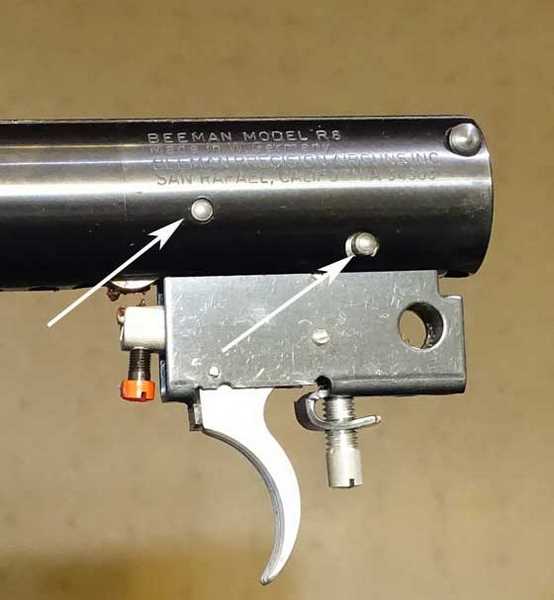
Remove the two pins (arrows) and the Rekord trigger drops out.
Unscrew end cap
Once the trigger is out, the end cap is unscrewed. Getting it started on newer guns that haven’t been apart many times can be difficult. My trick is to insert the end of a large crescent wrench in the trigger slot and rap it from the side to get the cap started turning. It acts like a large screwdriver. The rounded edges of the wrench protect the sharp edges of the end cap.
Just rap that crescent wrench downward to start the end cap turning.
Unscrew the end cap until only a few threads hold it to the spring tube. Err on the side of too many threads the first few times you do this.
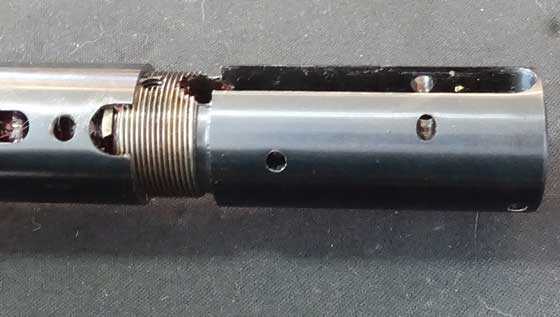
The end cap is almost unscrewed. Time to install the mainspring compressor.
Now it’s time to install the Air Venturi Rail Lock spring compressor. It clamps to the 11mm rail on top of the spring tube. That rail is also on the end cap, but since the cap must turn and also come free of the gun, you can’t clamp to it.
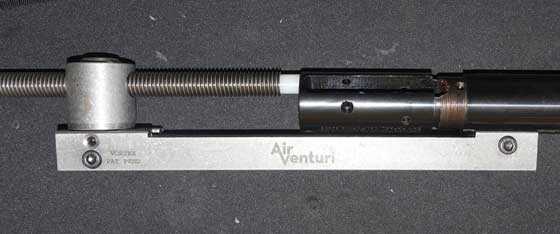
The Rail Lock spring compressor is installed and is pressing against the R8’s end cap.
Some words about the Rail Lock compressor
Several readers asked about the screws on the tail of the compressor. They are the two screw on the left, in the picture above. The larger screw on the bottom works with the large screw on the right to make certain the Rail Lock jaws are parallel with the scope grooves on the spring tube. The compressor is two parallel half sections and these two screw keep those sections parallel for maximum contact when clamped to the gun.
A couple readers wondered how well this compressor grabs the rifle. The clamping section seems very short. Well, it clamps very tight! I looked at it with that in mind this time and can tell you that compressor is not going anywhere when it’s tightened!
The smaller screw above the large screw on the left tightens the round object above that holds the threaded rod. Once the white tip of the threaded rod is tight against the end cap, tighten this screw to keep the rod straight against the end cap.
Remove the end cap
Now loosen the threaded rod on the compressor a smidgeon (a half-turn is good) and then unscrew the end cap as much as you can. Keep doing this (threaded rod/end cap) until the end cap is free. Then unscrew the threaded rod until all the mainspring tension is off the end cap.
The mainspring is completely relaxed. The end cap can just be removed at this point. Then the compressor comes off the gun and the disassembly continues.
Grease everywhere!
As we saw before, there was grease everywhere in this rifle! The grease is tacky brown petroleum-based grease that’s not as thick as black tar. It obviously does work well, but I am going to tell you about a much better gease for this application.
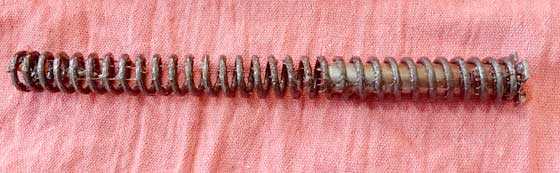
Mainspring has a heavy coat of grease.
Remove piston
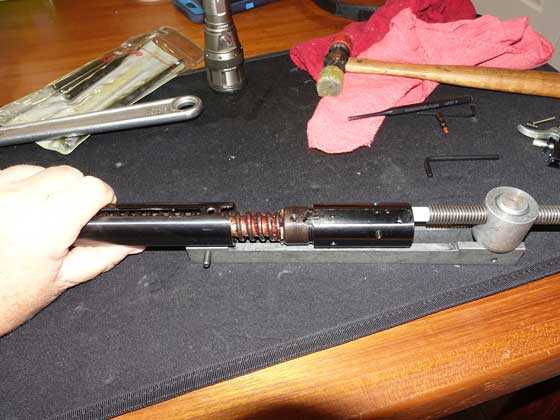
The spring guide is stock, so I know the tune was nothing special. Next I removed the pivot bolt and nut and separated the barrel from the spring tube. Now the cocking link comes out of the spring tube and the piston can be removed.
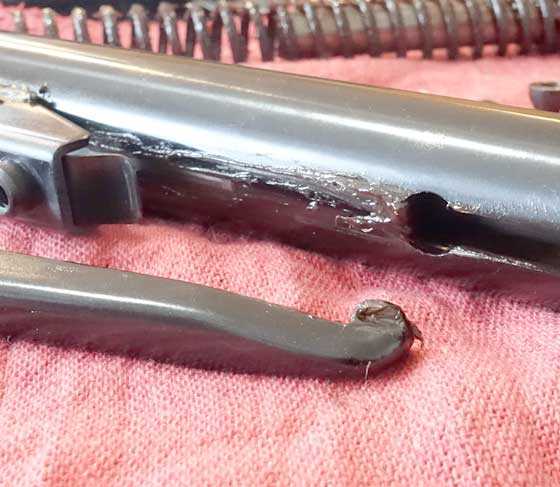
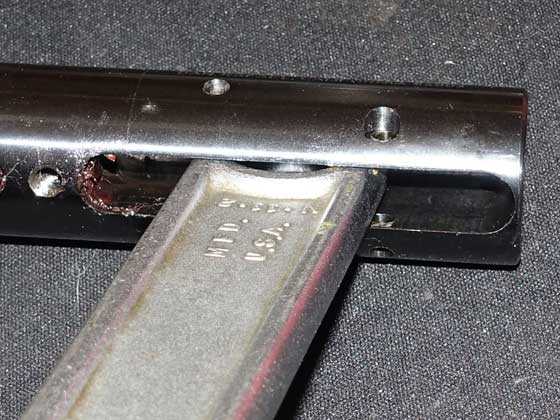
The swelled end of the cocking link is pulled out of the spring tube, once the barrel is separated from the spring tube. That flat spring that quiets the cocking link is seen at the left.
The piston is coated with the same tacky grease, inside and out. The piston seal is the original Weihrauch white seal that’s now turned yellow from exposure to the grease. So, this was a lube tune with the one goal of calming the action. Velocity did not matter to the person who did this.
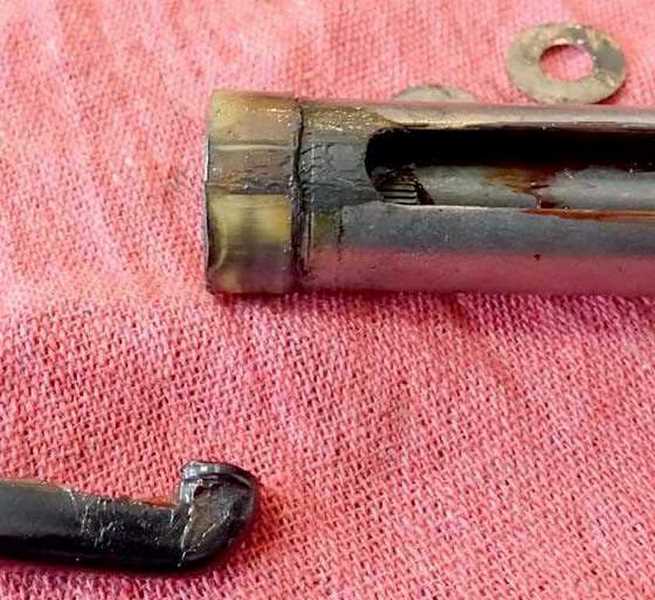
The piston seal is stock.
What looks like moly in these photos may be some moly powder that was mixed with the grease. But it didn’t stain my hands right to be moly. Therefore, the majority of what you are seeing is just dirty grease.
Cleanup
Now it was time to clean the parts. Removing the grease from the spring tube I saw that the compression cylinder was lightly honed. I have read where people advise polishing the compression chamber to a mirror finish, but that is not recommended. Just like the piston sleeves in your car’s engine, the metal walls of the compression chamber need some roughness to hold the grease and oil on the walls for better compression. This one was done right.
Best grease
I will address what I did to refresh the rifle in the next part. But let me tell you about the grease I used. It’s a grease Pyramyd Air uses in their tech department for all their tunes. Gene Salvino from the Pyramyd Air tech department told me about it years ago and I discovered that it’s great stuff. I just talked to Pyramyd Air and they plan to package this stuff for sale, so everybody will be able to use it.
Next
In the next report I will describe the remainder of the things I looked at and did. It’s mostly cleaning and inspection. I will lubricate and assemble and then test the results for velocity.
We are not finished with the R8 by a long shot. But after the next report I will give you a break and look at somethinbg else while I continue to work on the R8.