by Tom Gaylord
Writing as B.B. Pelletier
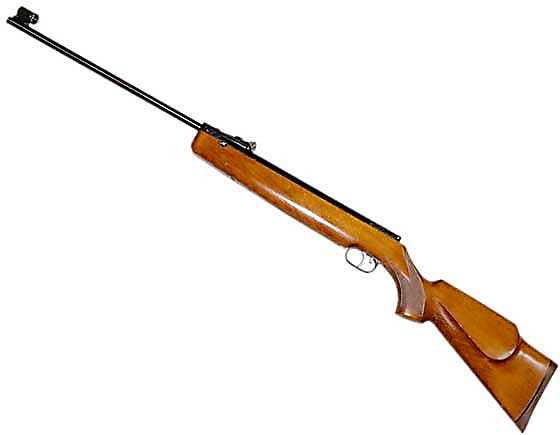
The Beeman R8 looks like a baby R1.
This report covers:
- Clean and inspect
- Little wear
- Install the Rail Lock mainspring compressor
- Now what?
- Tip
- When to take off the compressor
- Finish threading the end cap
- The trigger
- It’s been modified!
- Installing the trigger
- Trigger tip
- How does it feel?
- RWS Hobbys
- RWS Superdomes
- JSB Exact RS
- What happened?
Today I finish inspecting and cleaning the Beeman R8. I will then assemble it, lubricate it and test it with the same pellets I used before, so we can compare.
Clean and inspect
As I cleaned all the grease off the parts I inspected each of them. The piston and spring guide have not been altered. The mainspring is straight (test it by rolling on a flat surface) and fits the piston and spring guide reasonably well. There is some tolerance between the spring and both those parts, and if I were doing a top grade tune I would make a new spring guide, plus I would either shim the inside of the piston or find a mainspring that fits it closer. I’m not doing that today.
The spring tube was not swimming in grease like I thought. I wrapped a piece of paper towel around the end of a 3/8-inch dowel I use to clean spring tubes and I wiped out the inside of the tube — all the way to the end of the compression chamber. This allowed me to see the honing pattern that I mentioned last Friday.
There is no evidence of deburring on the spring tube — no file marks or shiny spots left by a stone. I think the rifle is exactly as it came from the manufacturer
Little wear
The base block has a lot of bluing remaining on both sides where the thin washers fit between it and the action fork legs. Usually there is a lot of finish wear at this spot. Also the pivot pin has all its bluing remaining, even though I could see no evidence of moly grease anywhere. I decided to grease these parts with the same grease I’m using on the mainspring — just to see how good it is.
It was challenging to fit the base block back into the action forks and to get the two thin washers to align with the pivot bolt hole. I bet I fiddled with that task for 30 minutes! In the past I’ve assembled several Beeman R1s and a couple HW35s with these same parts and they all went together much easier. The tolerances in this rifle are close to zero!That’s good from a performance standpoint, but bad for the mechanic. Part of that is due to the cocking linkage passing through that bridge on the underside of the spring tube I showed you last Friday, but the dimensions are also tight.
When the barrel goes on, the cocking linkage that’s connected to the base block must be linked to the piston. So now the piston is back in the gun. I did lubricate the outside of the piston and the piston rod with the same grease I’m using for everything else, but I used it sparingly.
With the barrel on and the piston installed it was time to lubricate and install the mainspring. I tried to use half as much grease as I had removed from the rifle, because this stuff is tackier. Hopefully we will see a little more velocity with no additional vibration as a result of this work. That’s the goal.

The special Air Venturi grease was applied sparingly.
Install the Rail Lock mainspring compressor
Now it was time to install the Air Venturi Rail Lock Mainspring Compressor. I positioned the end cap against the bottom of the spring guide and slid the compressor’s threaded rod in until the end cap was under a little spring tension. Now I had to turn the spring compressor in over an inch to engage the end cap threads.
As the threaded screw is turned, the end cap walks around because the Nylon plug at the end of the threaded rod doesn’t turn. It’s not a problem to control, just keep an eye on it. When the cap finally gets up to the spring tube is when you have to align the threads. I found it easy to rap on the end cap several times to get it to move where I wanted.
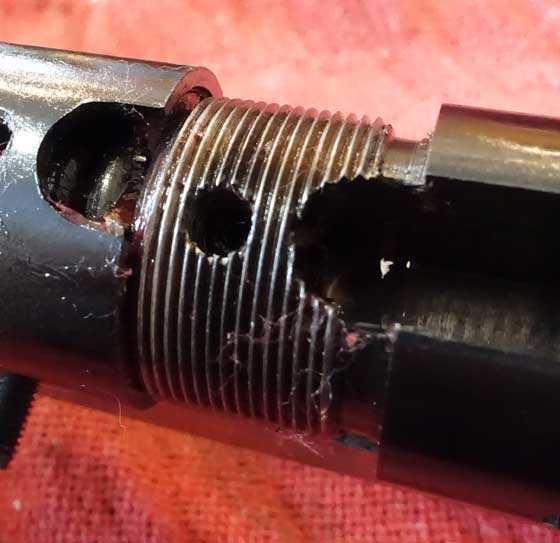
The end cap is up to the spring tube threads, but it’s not aligned yet. A couple sharp raps will bump it into position.
Now what?
This is one of the major hurdles with using this compressor. The end cap is under a lot of pressure from the spring. The threads must be precisely aligned so the cap won’t cross-thread. Here is how I did it. I tightened the threaded rod of the compressor, all the while turning the end cap. Suddenly I heard a small click and I knew the threads were aligned. It probably took 30-45 seconds of fiddling around to get it lined up.
Tip
To turn the end cap in the beginning takes real effort because it is under so much pressure from the mainspring. I used the rounded end of the Crescent wrench to start it and get it turned in about two threads. The mainspring compressor got in the way as I did this and I had to muscle the end cap past that, but this tip makes initial threading easier.
When to take off the compressor
As you turn the end cap you are also tightening the threaded rod of the compressor. Turn cap/tighten the threaded rod. Eventually (after 2 threads are engaged) a point is reached where the compressor isn’t needed. I kept it attached a little while longer for safety. I don’t want that powerful mainspring to strip out a couple threads on the end cap!
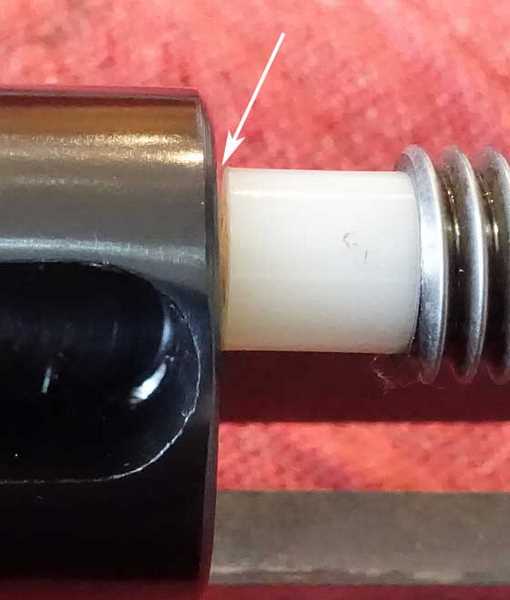
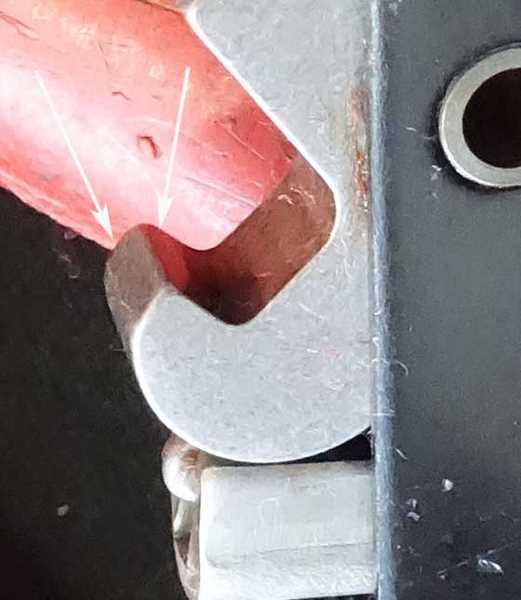
At some point, the end cap threads start holding and pulling the cap away from the compressor (arrow). This is how it looks when that happens.
This is where the end cap was when it pulled away from the mainspring compressor.
Now I removed the compressor. The end cap could be grasped all around for a better grip to turn.
Finish threading the end cap
The end cap is turned all the way down to the spring tube. If a gun is new, like this R8 seems to be, the cap won’t go all the way down. There will be a slight misalignment in the end cap slot where the trigger goes. The rifle can probably tolerate this misalignment, but I can’t.
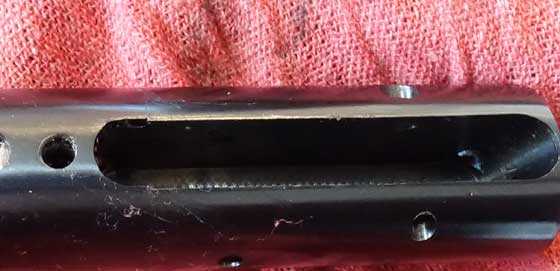
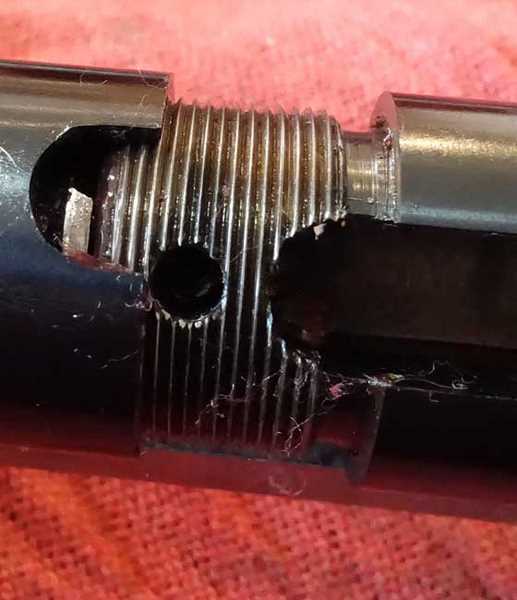
The end cap is turned all the way in, but the trigger slot is not perfectly aligned yet.
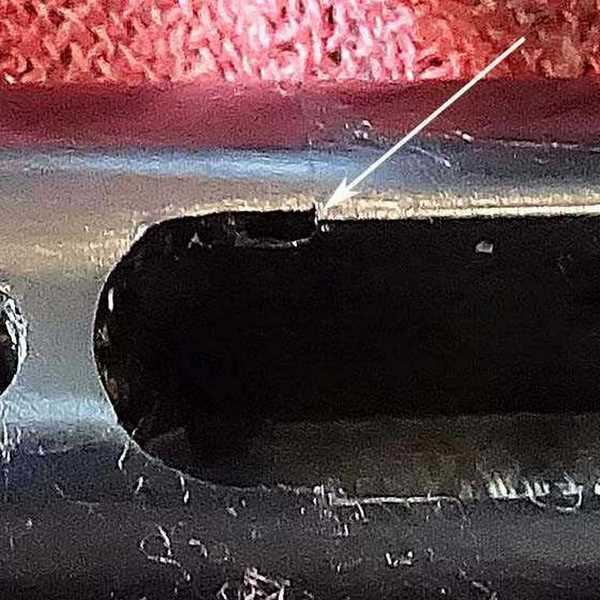
The end cap needs to be turned a little farther for the slot to align (arrow). The rifle will probably work like this, but I want it to be aligned.
To get that final alignment I used the crescent wrench and just kept backing off and twisting the end cap home until it finally aligned within a couple hundredths of an inch. If you keep at it, you’ll get it to align.
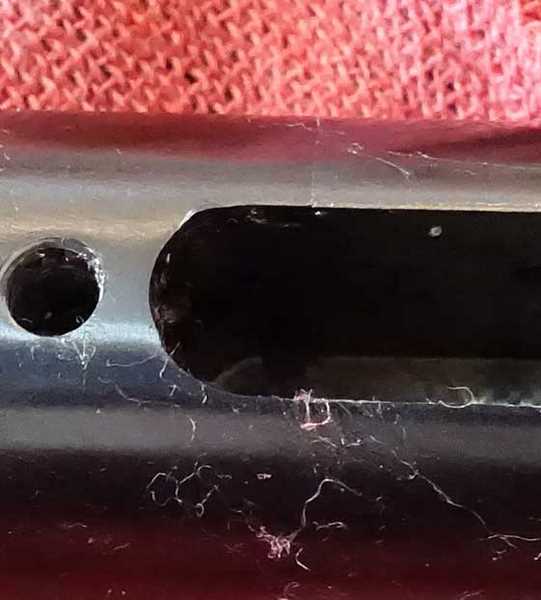
After I fiddled with it a few minutes, I got the end cap to align like this.
The trigger
As you may remember, the Rekord trigger in this rifle was full of tractor grease that had to be removed. I don’t like to use any grease on a Rekord. Moly isn’t that useful, though I’ve used it in the past, because the Rekord doesn’t work like you think. There’s not a lot of friction to overcome, because it works by levers. By just wiping off the grease I left a residual film that lubricates the parts all they need.
It’s been modified!
After I got all the grease off I examined the trigger parts and discovered that this trigger has been modified by someone who knows Rekords. The piston hook has been trimmed down and also beveled and smoothed to release the piston more cleanly. This is hand work, not a factory job. I’ve seen this before, but only on the triggers in HW55 target rifles. Those triggers are hand-worked by the factory like this for a better release, while the sporting Rekords are just assembled. Whoever worked on this trigger knew about the target Rekords, but they left the sporting return spring in the trigger.
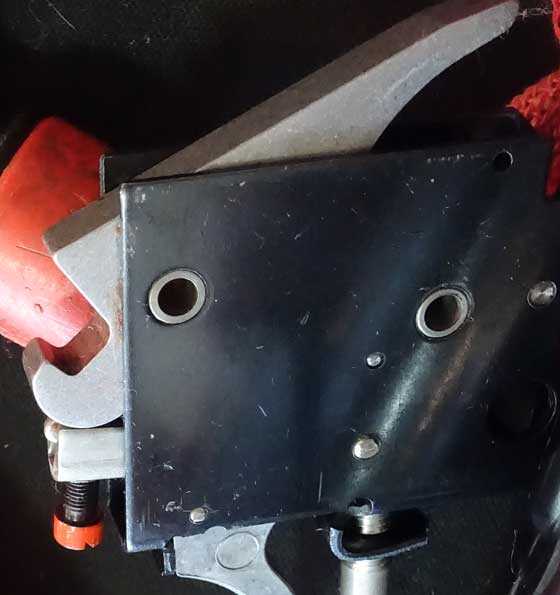
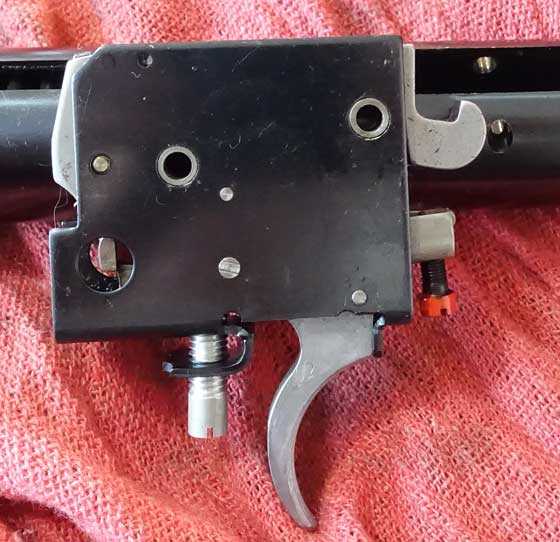
The Rekord trigger (shown uncocked) has been modified.
The top of the trigger hook has been removed (left arrow) and the engagement side has been beveled and smoothed (right arrow). This was all done by hand.
Installing the trigger
The last part of assembly involves installing the trigger in the gun. The Rekord is modular, so installation is easy.. First insert the safety bar and spring back in the end cap. Now the trigger is ready to go in. You will have to press in on the safety button to get it out of the way as you align the trigger with the pin holes.
Trigger tip
It helps to cock the trigger before installation. Do this by pressing down on the back of the piston hook until the sear catches it. You don’t have to do this, but it sure helps if you do.
The Rekord trigger is cocked by pressing down on the back of the piston hook.
Now the trigger can be installed in the end cap. It helps to shine a bright light behind the cap to see when the holes in the trigger box and cap are aligned. I install the rear pin first — and the pins are different lengths, so make sure you put the right one in the right hole.
Weihrauch machines these end caps perfectly, so the pins go in with finger pressure, alone. Just move the trigger unit around slightly while pressing in on the pin and it should go all the way through. Once the pins are installed, check the safety to see that it moved both directions and the rifle is ready to go back in the stock.
How does it feel?
The rifle shoots just as smooth as before. After a couple shots, it was time to test velocity.
RWS Hobbys
The average with RWS Hobbys is 402 f.p.s. Before it was 523 f.p.s. The velocity was increasing the more that I shot, but it wasn’t changing that much. The spread went from 365 to 429 f.p.s.
RWS Superdomes
With RWS Superdomes the average was 425 f.p.s. Before it was 503 f.p.s. The spread went from 417 to 430 f.p.s.
JSB Exact RS
JSB Exact RS pellets averaged 582 f.p.s. The previous average was 645 f.p.s. The spread was from 573 to 591 f.p.s.
What happened?
Obviously my straight lube tune didn’t work. I believe the grease I used is so tacky that it slowed the gun down too much. I used too much grease. I will ponder this awhile before deciding the next direction to take with this Beeman R8.